Welcome to this guide on baking authentic Hawaiian bread rolls at home! These soft, fluffy, and slightly sweet treats have captured the hearts of many with their buttery flavor and tender texture. Whether you’re a seasoned baker or just starting out, this recipe is designed to help you create bakery-quality rolls in the comfort of your own kitchen.
Perfecting this recipe took time and effort, with over 15 batches tested to ensure the ideal balance of butter, sugar, and dough-handling techniques. The result is a recipe that’s both easy to follow and rewarding to bake. In this article, we’ll walk you through everything from selecting the right ingredients to troubleshooting common issues, ensuring your baking experience is smooth and enjoyable.
These rolls are incredibly versatile. You can enjoy them as a side with dinner, use them to make delicious ham and cheese sliders, or even serve them as a sweet treat. With clear, step-by-step instructions, you’ll be able to achieve professional results, even if you’re new to bread baking.
Discovering the Charm of Homemade Hawaiian Bread Rolls
Creating homemade Hawaiian bread rolls is a rewarding experience that offers numerous benefits. Not only does it allow you to control the ingredients, but it also results in a superior taste compared to store-bought options. The process is straightforward, and with the right instructions, you can achieve the perfect texture and flavor.
Why Make Them at Home?
Making these rolls at home provides several advantages. You can ensure the use of fresh, high-quality ingredients, which directly impacts the final product’s taste. Additionally, homemade rolls are typically softer and have a more vibrant flavor profile compared to their store-bought counterparts.
The Unique Flavor and Texture
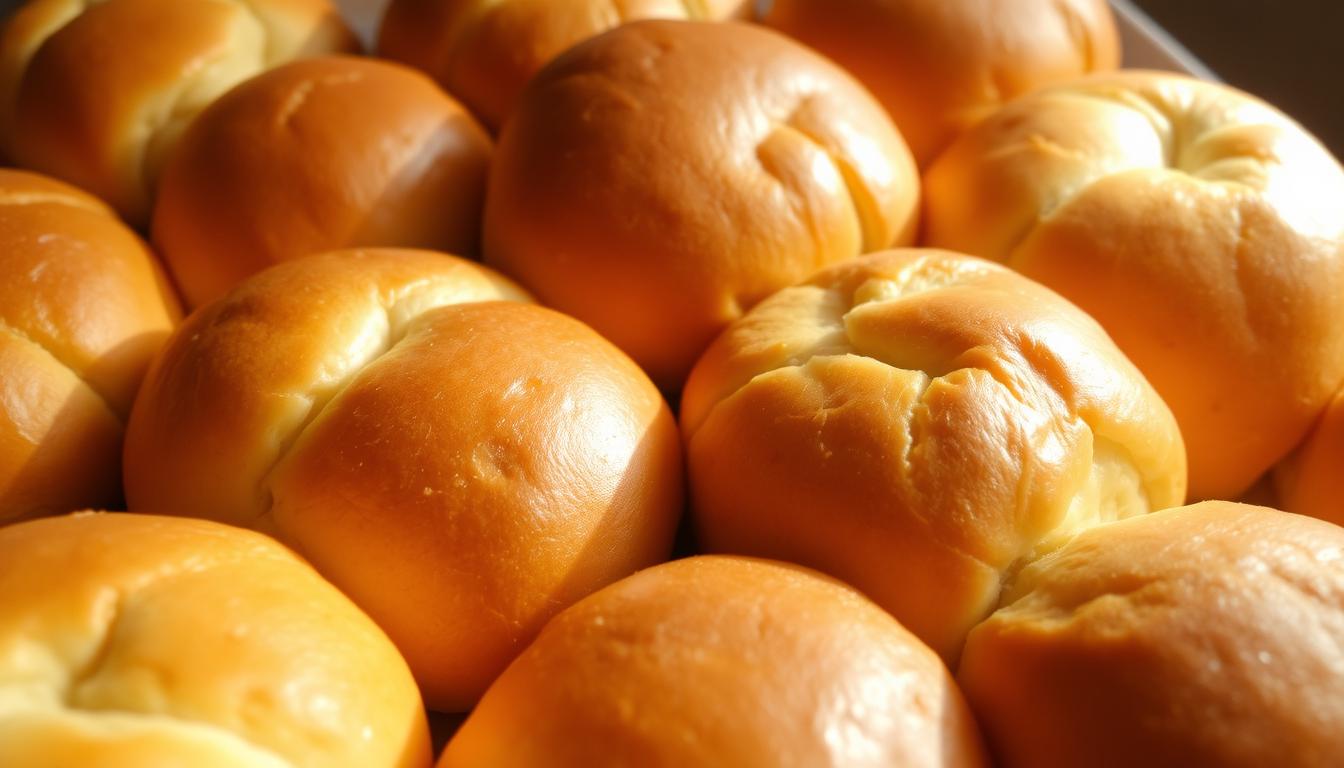
The unique flavor of these rolls comes from ingredients like pineapple juice and butter, which contribute to their sweet and buttery taste. The texture is soft and fluffy, making them a delightful addition to any meal. By following detailed instructions, especially during proofing and kneading, you can avoid common issues like dense or overly sweet rolls.
Testimonials from those who have tried this recipe highlight the satisfaction of achieving professional results at home. Whether you’re enjoying them as a side with dinner or using them for creative dishes like sliders, these rolls are incredibly versatile.
In summary, making homemade Hawaiian bread rolls is a simple yet rewarding process that offers a more flavorful and softer alternative to store-bought options. With the right techniques and ingredients, you can create delicious rolls that your family and friends will love.
Gathering Your Ingredients and Essential Tools

Before diving into the recipe, it’s essential to gather all the necessary ingredients and tools. This ensures a smooth and enjoyable baking experience.
Must-Have Ingredients for Success
To achieve the perfect texture and flavor, you’ll need:
- Pineapple Juice: Adds natural sweetness and moisture.
- Whole Milk: Contributes to a tender crumb and richness.
- Unsalted Butter: Enhances flavor and softness.
- Bread Flour: Provides structure and elasticity.
- All-Purpose Flour: Ensures a light and fluffy texture.
These ingredients are crucial for achieving the signature softness and sweetness of these rolls.
Tools to Simplify Your Process
The right tools make all the difference:
- Stand Mixer with Dough Hook: Efficient for kneading.
- Bench Scraper: Helps in handling sticky dough.
- Proper Baking Pan: Prevents overbrowning and ensures even baking.
Using quality tools will help you achieve consistent results every time.
Step-by-Step Instructions for Making hawaiian bread rolls
With your ingredients and tools ready, it’s time to dive into the hands-on process of creating these delicious Hawaiian bread rolls. Follow these detailed steps to ensure your rolls turn out soft, flavorful, and utterly irresistible.
Mixing and Kneading the Dough
Start by combining your wet ingredients—pineapple juice, milk, melted butter, and egg—in a large mixing bowl. Gradually add the dry ingredients, including flour, sugar, yeast, and salt, mixing until a cohesive dough forms. For efficient kneading, use a stand mixer with a dough hook attachment for about 5-7 minutes, or knead by hand for 10 minutes, until the dough becomes smooth and elastic.
This step is crucial for developing the dough’s structure, ensuring it rises properly and gives the rolls their signature texture.
Shaping, Proofing, and Baking Techniques
Divide the dough into 16 equal portions and roll each into a tight ball. Place them on a baking sheet, leaving space for expansion. Let the dough rise in a warm, draft-free area—about 1 hour for the first rise and 45 minutes for the second. Preheat your oven to 350°F (175°C) and bake the rolls for 15-20 minutes, or until golden brown. Use an instant-read thermometer to check for an internal temperature of 190°F for doneness.
Brushing with Butter for Extra Flavor
While the rolls are still warm, brush them generously with melted butter. This step locks in moisture and enhances the rich, buttery flavor. Avoid over-flouring the rolls to maintain their light, fluffy texture.
By following these steps, you’ll achieve perfectly baked Hawaiian bread rolls that are sure to impress. Enjoy them as a side, use them for sliders, or savor them on their own—each bite a testament to your baking skills!
Expert Tips and Troubleshooting for Perfect Rolls
Creating perfect rolls involves more than just following a recipe. It requires attention to detail and understanding how your environment affects the dough. Whether you’re in a humid climate or a dry one, small adjustments can make a big difference.
Avoiding Common Pitfalls
- Check Yeast Potency: Expired yeast can lead to flat rolls. Test by mixing with warm water and sugar; it should foam within 10 minutes.
- Salt Moderation: Too much salt can slow yeast activity, affecting rise and flavor.
- Flour Choice: High-protein flours can make rolls tough if overmixed. Consider lower-protein options for tenderness.
Adjusting for Your Kitchen Environment
Humidity and temperature play a crucial role. In dry climates like Arizona, you might need more liquid, while humid areas like New York may require less. Temperature affects rise time—warmer kitchens speed it up, while cooler ones slow it down.
- Uniform Size: Divide dough evenly for consistent baking. Cut into quarters, then into equal sections for uniform rolls.
- Dough Handling: Sticky dough? Light flour on hands helps. For non-sticky dough, a water spritz prevents slipping.
By adjusting your technique and environment, you can achieve soft, flavorful rolls perfect for dinner or as a sweet treat. Remember, small tweaks can lead to big improvements in texture and taste.
Final Thoughts and Creative Serving Suggestions
Crafting these homemade treats is both simple and rewarding. This recipe offers a delightful way to enjoy soft, buttery rolls with minimal effort. The process from preparation to serving is designed to be straightforward, ensuring a satisfying experience for bakers of all skill levels.
These rolls are incredibly versatile. Use them as dinner rolls, transform them into sliders, or even create a base for gourmet sandwiches. Pair them with ham, turkey, or as a side for a full meal. For an extra touch, try adding garlic butter or fresh herbs to create a unique flavor profile.
We encourage you to share your baking experiences in the comments below or tag us on social media. Feel free to experiment with the recipe while keeping the core instructions intact to maintain the rolls’ signature taste and texture. Happy baking!
FAQ
How long does it take to make these rolls from scratch?
Can I store these rolls for later use?
What makes these rolls different from regular dinner rolls?
Can I use a stand mixer for kneading the dough?
Do I need special tools to shape the rolls?
Can I make these rolls ahead of time for a dinner party?
Where can I find the full recipe for these rolls?
Can I substitute any ingredients to make them healthier?
Why did my rolls turn out dense?
Can I add other flavors to the dough?
How do I ensure the rolls are evenly baked?

Scott Sweeney is the creator of Virtual Hawaii 360. Scott is a professional marketer and a lifelong Hawaii enthusiast. Scott splits time between Oahu and Dayton, Ohio. In addition to his marketing endevours, he is also a published Ukulele musician.